Manager and Bootstrap
Two components carry every GCS scene: GameCardManager holds the registered databases, and GameCardEncounterBootstrap decides which encounter starts when you press Play.
For anyone wiring a battle scene by hand, or checking what the dashboard's Initialize System button actually created.Every GCS battle scene rests on one GameObject with two components. GameCardManager registers the databases that make your content reachable, and GameCardEncounterBootstrap picks the encounter and starts it. When either one is missing or points at the wrong content, the scene loads without errors and then nothing happens, so it pays to know exactly what each piece does.
Two components, one GameObject
| Component | Job |
|---|---|
GameCardManager | Holds the six database lists with their active toggles, exposes runtime content lookup, and owns StartBattle. One per scene, reachable as GameCardManager.Instance. |
GameCardEncounterBootstrap | Stores the scene's Default Encounter and starts it on Play when Auto Start On Play is enabled. It requires a GameCardManager on the same GameObject. |
Everything else in the scene (camera, hand UI, unit areas, HP bars) is presentation. Battle Scenes covers those pieces; this page is about the two components that make the battle exist at all.
Let the dashboard build it
The fastest correct setup is one button. Open the dashboard from Tools/TinyGiants/GCS/Game Card System and click Initialize System.
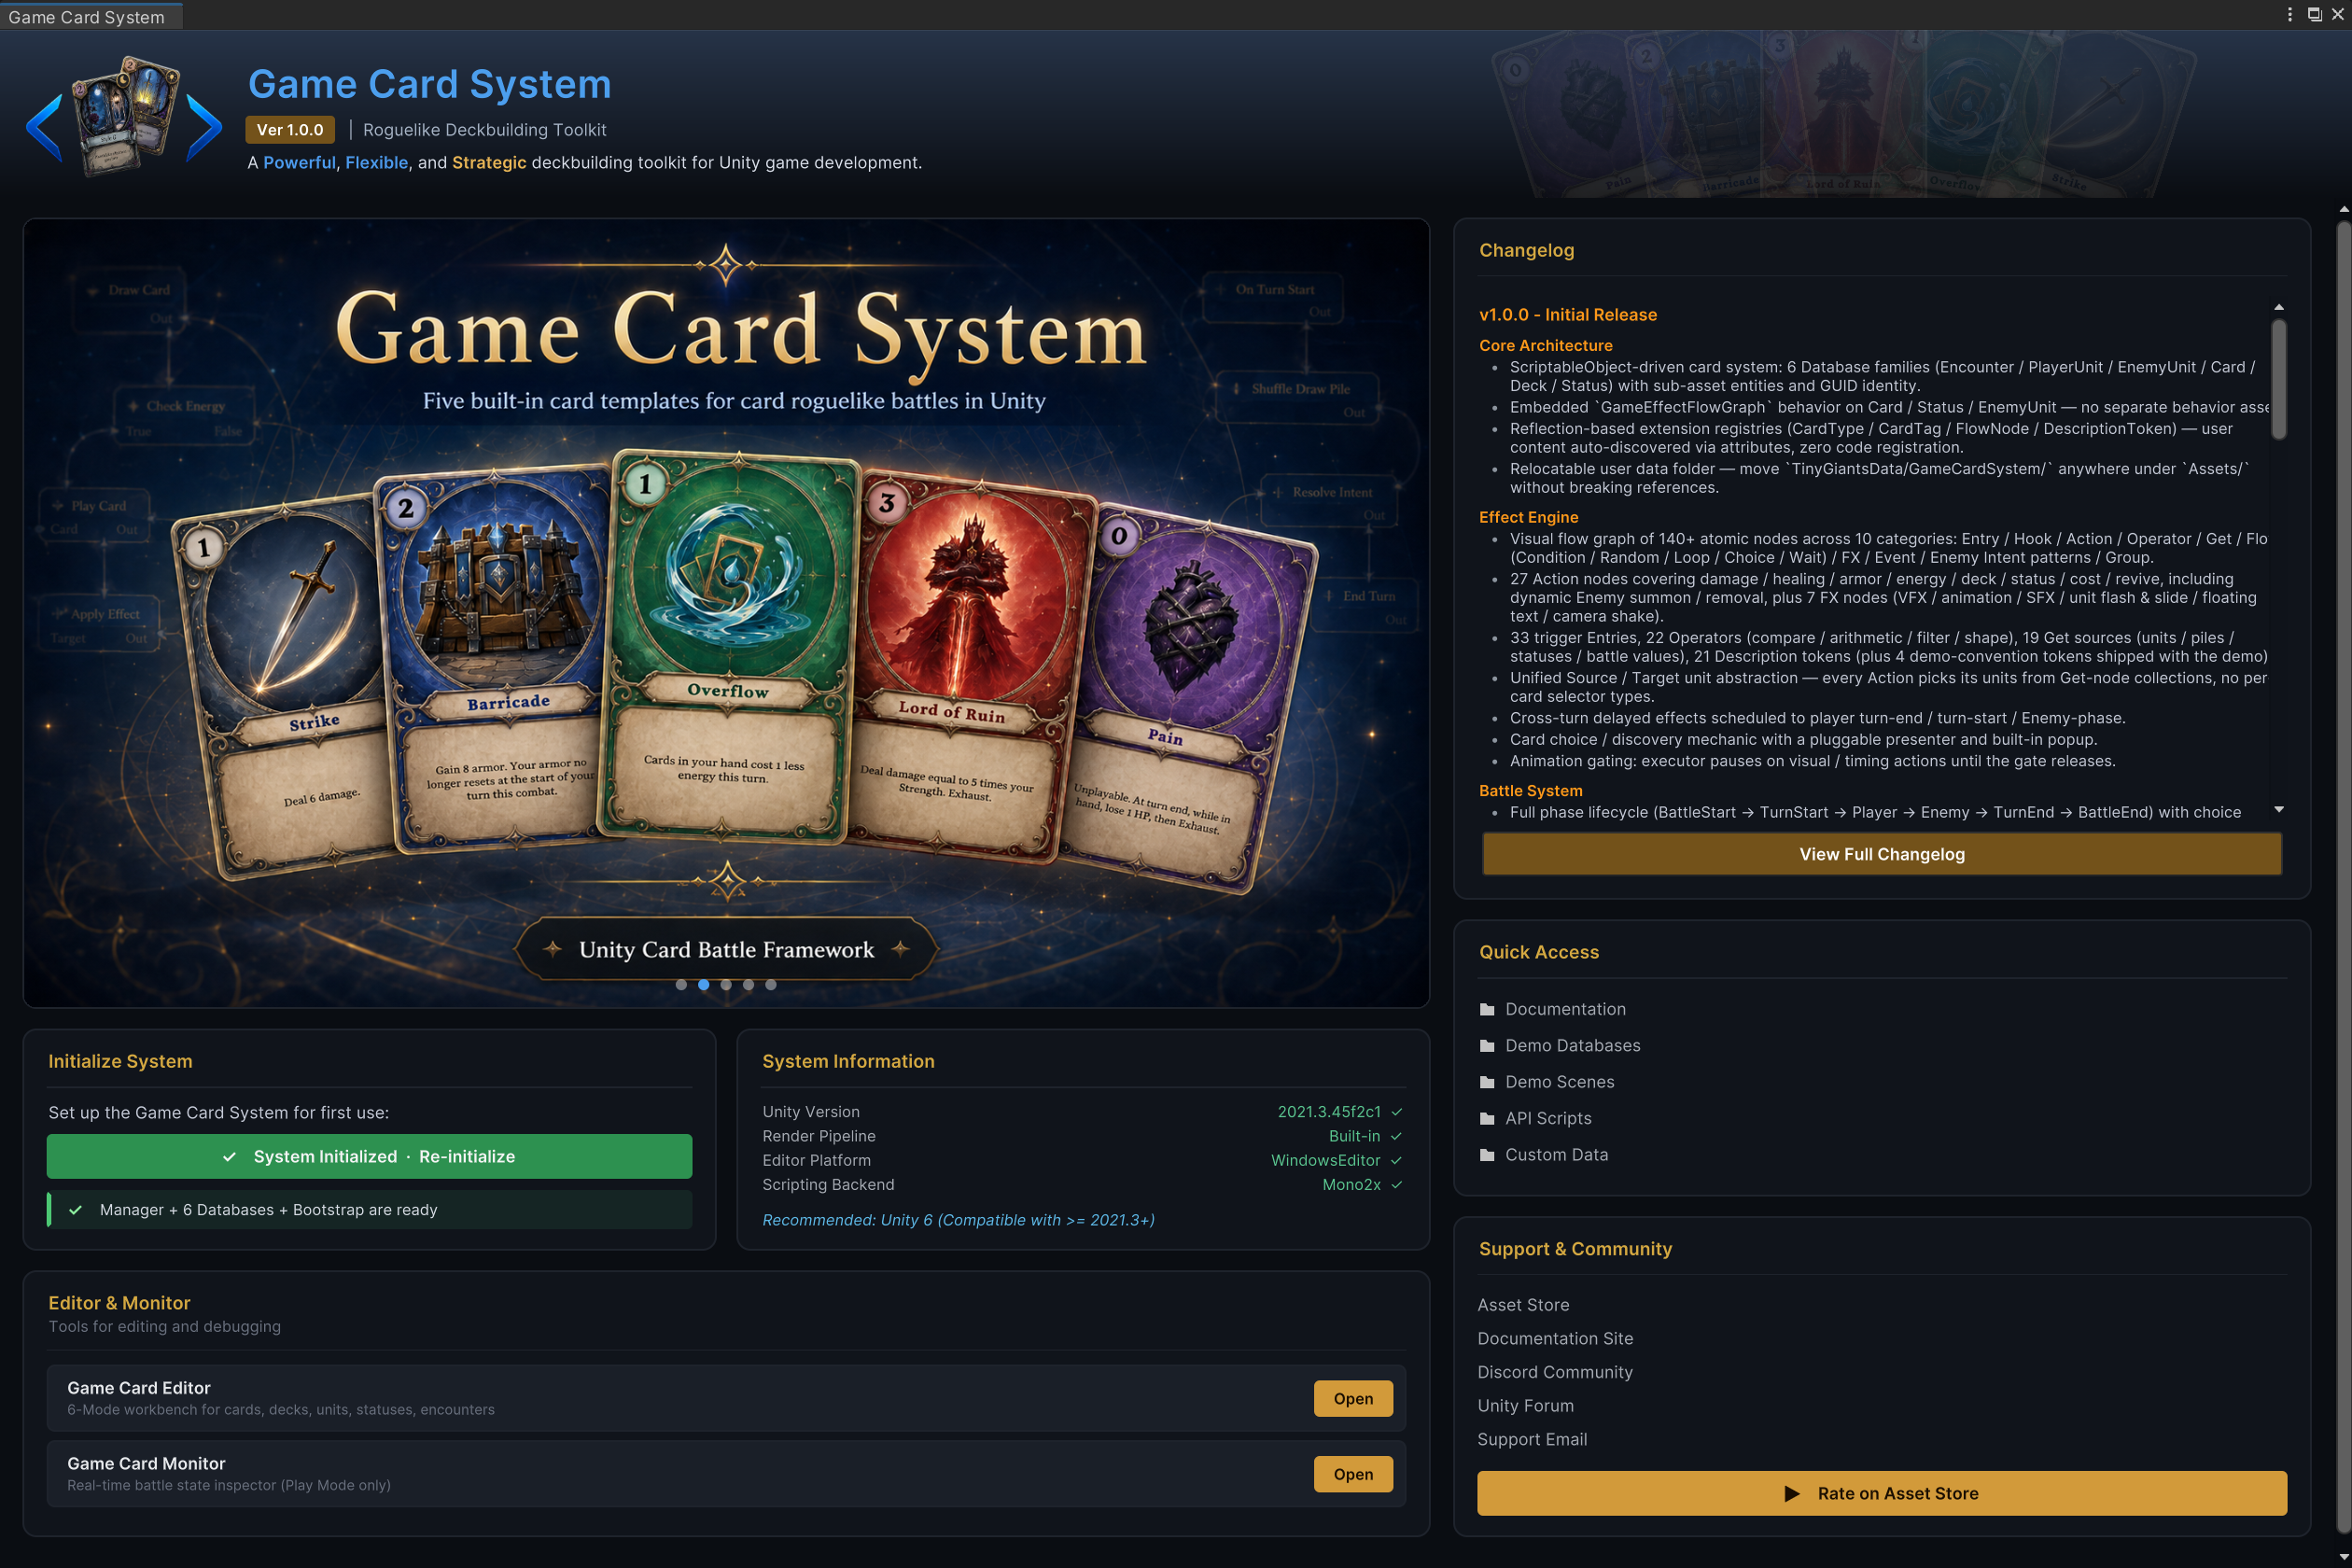
The button does four concrete things in the open scene:
- Finds a
GameCardManager, or creates a GameObject namedGameCardManagerwith the component on it. - Adds a
GameCardEncounterBootstrapnext to it if one is missing. - Registers the six preset databases from
Demo/Databases/and marks each one active. - Selects the GameObject so you can inspect the result immediately.

Initialize System only adds what is missing. Databases you registered yourself stay untouched, and presets that are already registered are not duplicated. Once all six database types are filled, the button relabels itself to show the system is initialized.
The bootstrap, field by field
| Field | Meaning |
|---|---|
Default Encounter | The encounter this scene starts. The inspector shows it as a card with the encounter's player unit and enemy count, so you can confirm you picked the right one at a glance. |
Auto Start On Play | On by default. When enabled, the encounter starts automatically the moment you enter Play Mode. |
On Bootstrap | A UnityEvent fired right after the battle starts. Handy for scene-specific reactions such as starting music or hiding a loading overlay. |

To pick the encounter, click the picker icon on the card (or double-click the card itself) and a search popup lists every encounter in the project. The two icons next to it ping the encounter asset in the Project window and clear the selection.
The inspector also prints a status line under the encounter card. Read it before pressing Play:
| Status line | What it means |
|---|---|
| Ready, starts on Play | The encounter is assigned and reachable through an active encounter database. |
| Pick an encounter, or untoggle Auto Start On Play | Auto start is on but no encounter is assigned. Play Mode will log a warning and start nothing. |
| Selected encounter is not in any active EncounterDatabase | The asset exists, but the manager cannot see it. Register the database that contains it, or flip its active toggle back on. |
| No active Encounter Databases registered | The manager has no encounter database at all. Run Initialize System or register your own. |
With Auto Start On Play enabled and Default Encounter empty, GCS logs a warning on Play and skips the start entirely. The scene sits there looking finished. The status line catches this before you waste a Play Mode round trip.
Auto start or manual start
The whole decision the bootstrap makes on Play fits in one small flow:
- Auto start (bootstrap)
- Manual start (code)
Assign Default Encounter, leave Auto Start On Play enabled, press Play. This is the right mode for demo scenes, test scenes, and any scene that exists only to run one battle. All twelve demo scenes get their encounter this way.
Turn Auto Start On Play off when your game has a pre-battle menu, a map node, or a custom transition, then start the battle yourself:
using TinyGiants.GCS.Runtime;
using UnityEngine;

public class MapNodeButton : MonoBehaviour
{
    public GameEncounter Encounter;

    public void OnNodeClicked()
    {
        GCSApi.StartBattle(Encounter);
    }
}
One difference to know: the On Bootstrap UnityEvent only fires on the bootstrap's own auto-start path. When you call GCSApi.StartBattle yourself, run your scene reactions from your own code.
Check before you press Play
- The scene has a
GameCardManagerwith all six database types registered and active. - The bootstrap's
Default Encounteris assigned and its status line reads ready. - The encounter references a player unit and at least one enemy.
- The player unit's starting deck exists, and every card in it lives in an active card database.
- Workbench validation shows no blocking errors. See Validation and Where-Used.
The demo pattern
Use the demo scenes as verified references. When building a new scene, reuse the structure, then replace only the encounter and the presentation references you need. If the copied scene still starts the old battle, the bootstrap's Default Encounter is still pointing at the demo encounter.
A demo scene's Hierarchy shows the pattern at a glance: one GameCardManager object carrying both components, surrounded by presentation objects that never touch battle logic.
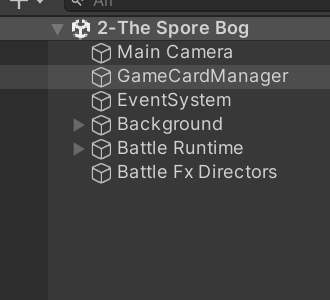
Each demo scene includes a BattleSplashScreen that intercepts the bootstrap on load: it reads Default Encounter, turns auto start off for that run, plays the encounter intro, then starts the same battle itself. Your bootstrap settings still decide what gets played; the splash only decides when.