Installation and Initialization
Import GCS, create a clean Unity scene, click Initialize System, assign a preset encounter, and run a playable card battle.
For first-time setup in a new project or for adding a GCS battle scene to an existing Unity project.GCS installs like a normal Unity package. Import it, wait for scripts to compile, then initialize the scene you want to use for battle testing.
Requirements
- Unity 2021.3 or newer.
- Compatible with Unity 6.
- Built-in Render Pipeline and URP are supported by the demo content.
- No third-party runtime dependency is required.
After import, all package content lives under Assets/TinyGiants/GameCardSystem/. Wait for Unity compilation to finish before opening GCS windows; a half-compiled project can show empty or broken editor UI.
The 12 demo scenes are already wired. Open Demo/Scenes/Hunter/1-Fenmoss Hollow.unity, press Play, and a battle starts.
If your project does not already have TextMeshPro essentials installed, Unity may show the TextMeshProUGUI import prompt when you open a demo scene. Import the essentials, then reopen or reload the demo scene so UI text renders correctly.
Create a Custom Battle Scene
Create or open a clean scene, for example SampleScene, and make it the active scene. The scene can be empty; Initialize System will create the required GCS battle objects.
Open Game Card System
Tools > TinyGiants > GCS > Game Card System
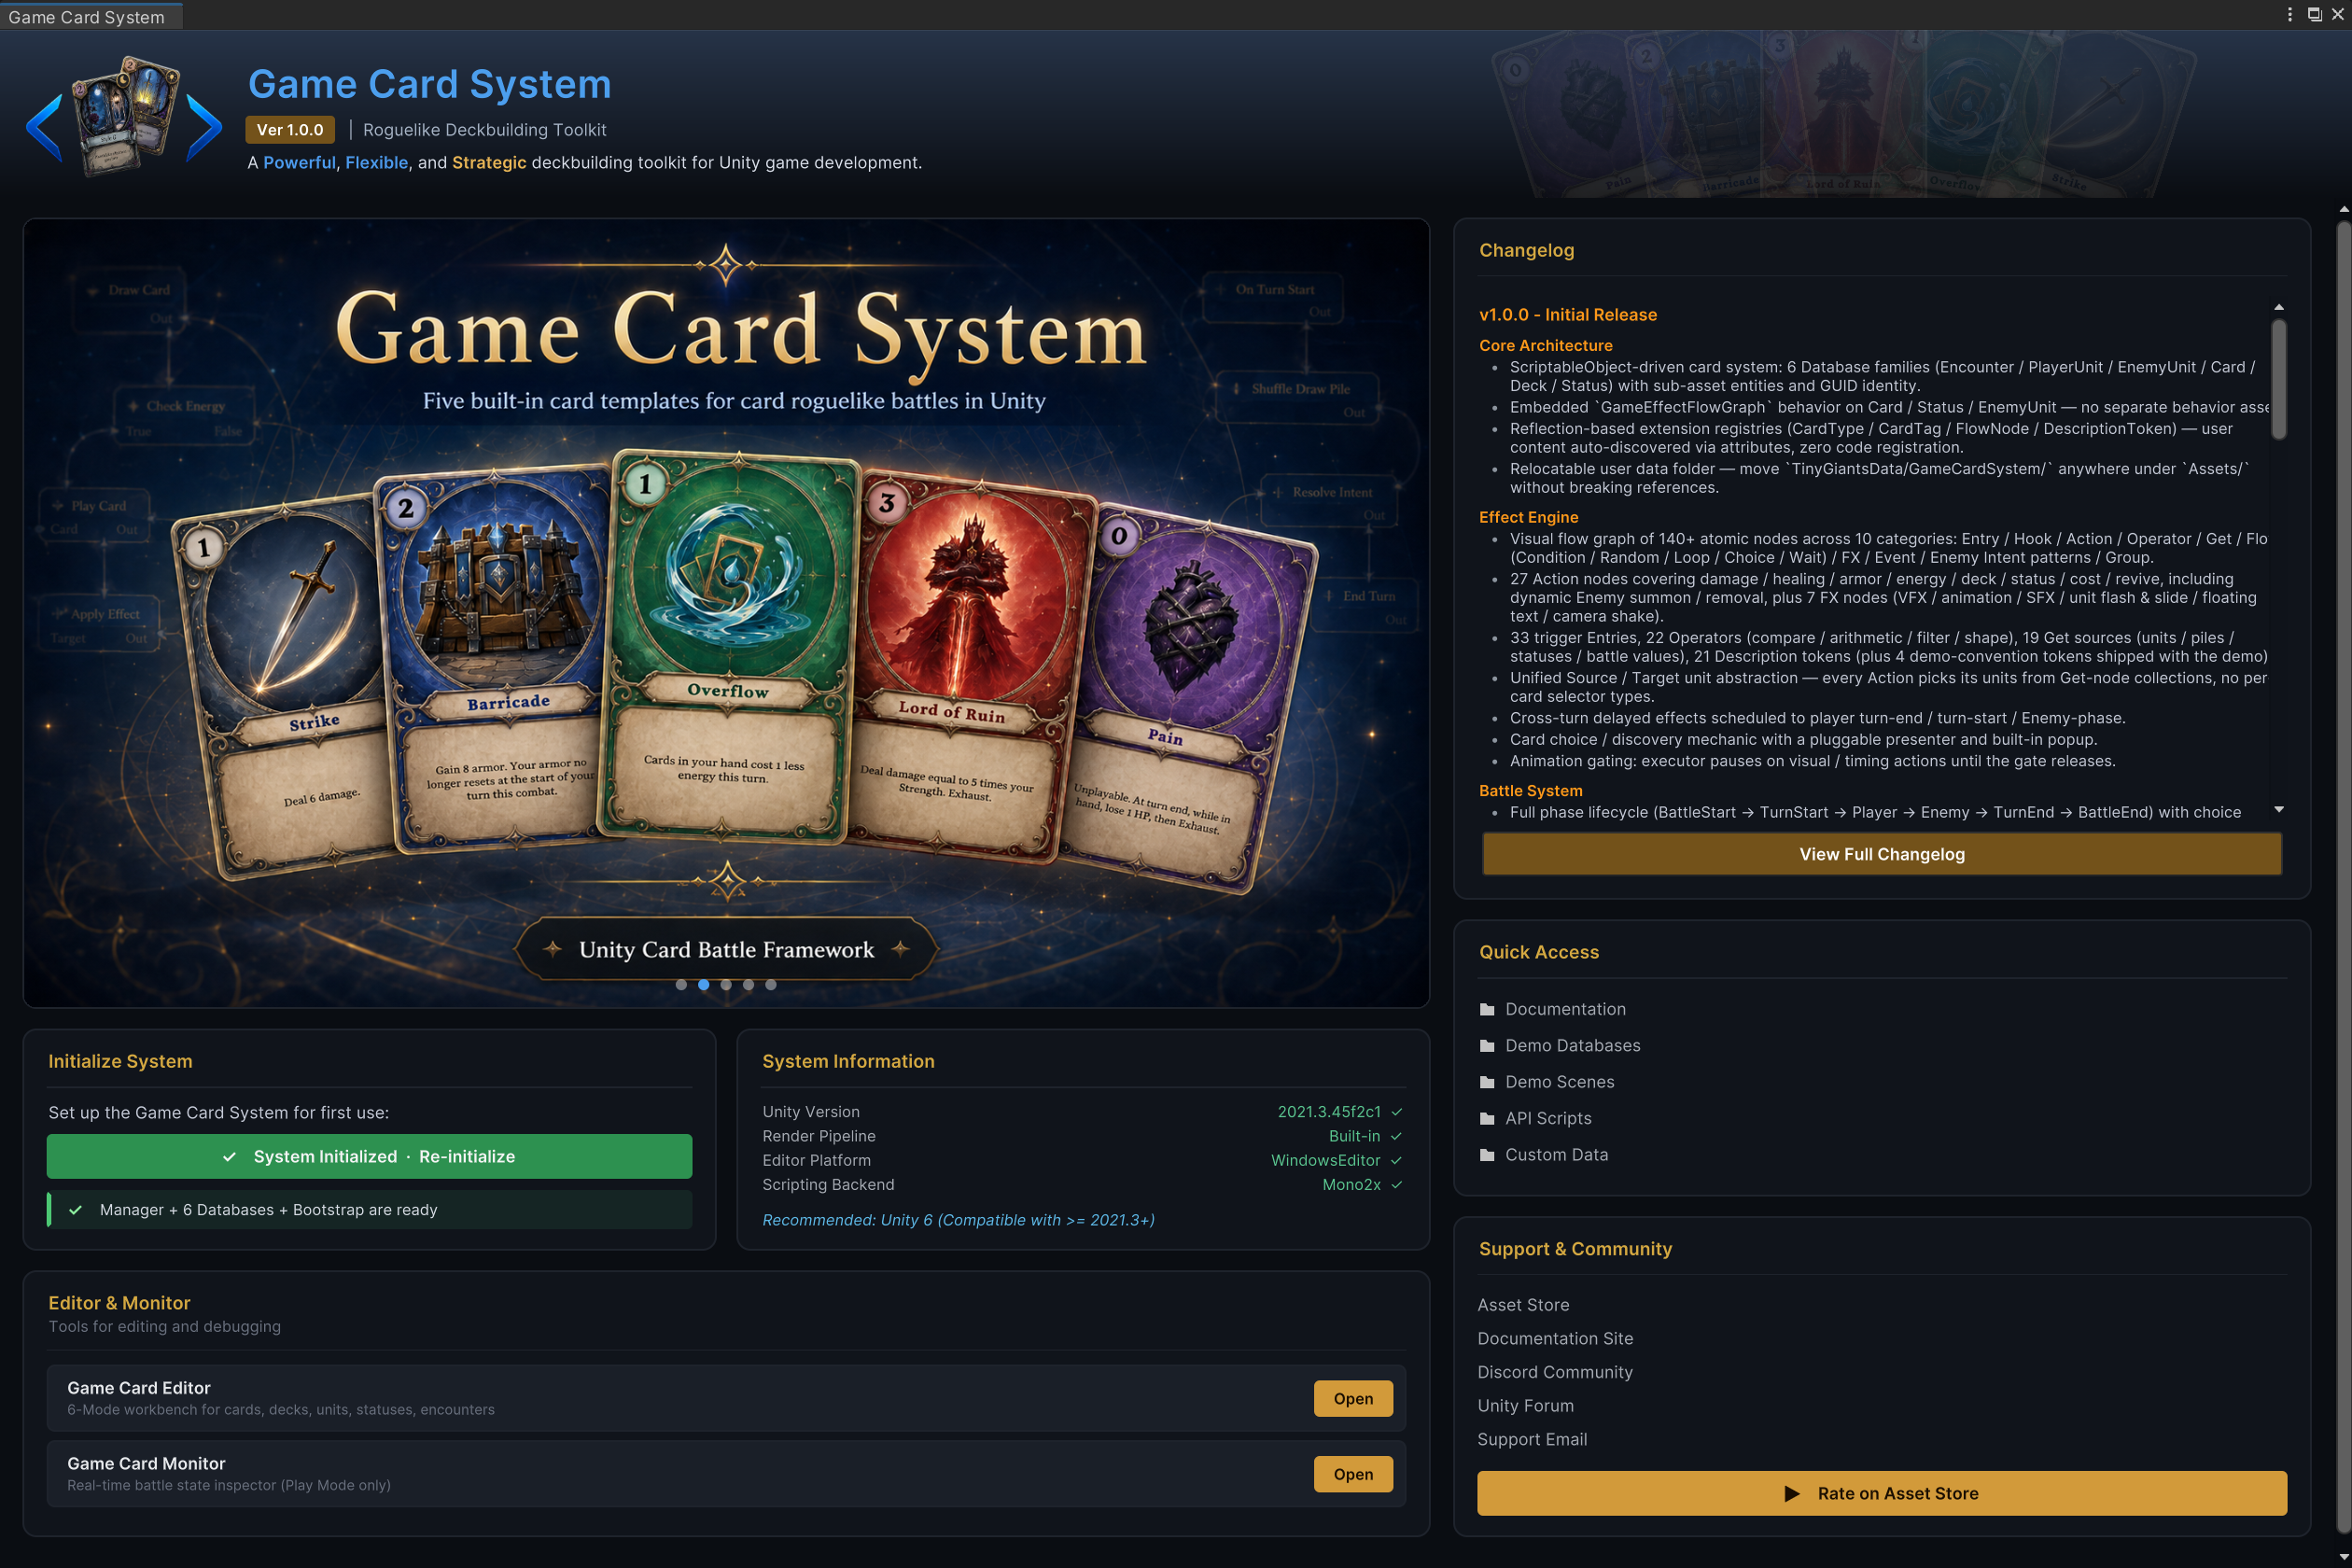
This window is the setup dashboard for scene initialization, environment checks, tool entry points, and folder shortcuts.
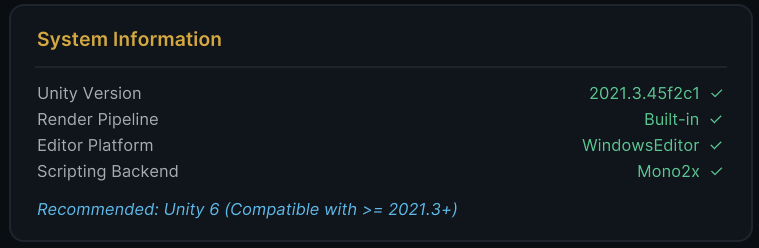
Check System Information
The System Information card shows Unity version, render pipeline, editor platform, and scripting backend. A green check means the row is supported. When all rows show green checks, the current project environment is suitable for GCS.
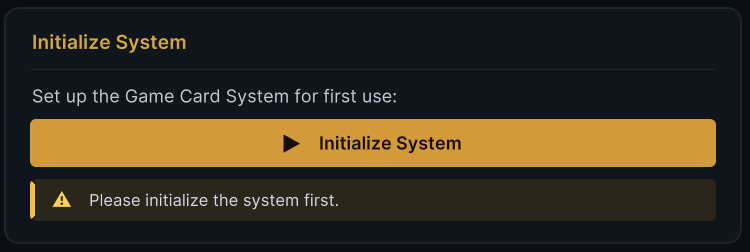
Click Initialize System
Before setup, the panel shows the uninitialized state. The primary action is Initialize System.
Click Initialize System and wait for Unity to finish any import or compile work. The button prepares the scene for a playable battle:
- Creates or reuses a
GameCardManager. - Adds
GameCardEncounterBootstrapto the same object if missing. - Registers the six preset databases from
Demo/Databases/and marks them active. - Creates or repairs the minimal battle scene roots:
EventSystem,Background,Battle Runtime, andBattle Fx Directors. - Adds the default demo presentation layer so cards, units, HUD, effects, audio, rewards, and popups can appear in Play Mode.
- Configures a simple class background resolver for preset encounters.
When initialization succeeds, the status changes to System Initialized · Re-initialize.
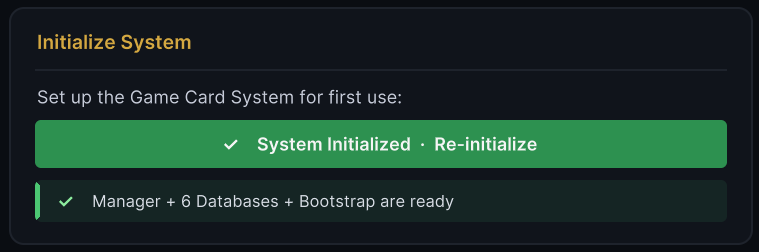
Re-running is safe. It fills missing parts, skips databases already registered, and does not remove your own databases.
Check the Manager
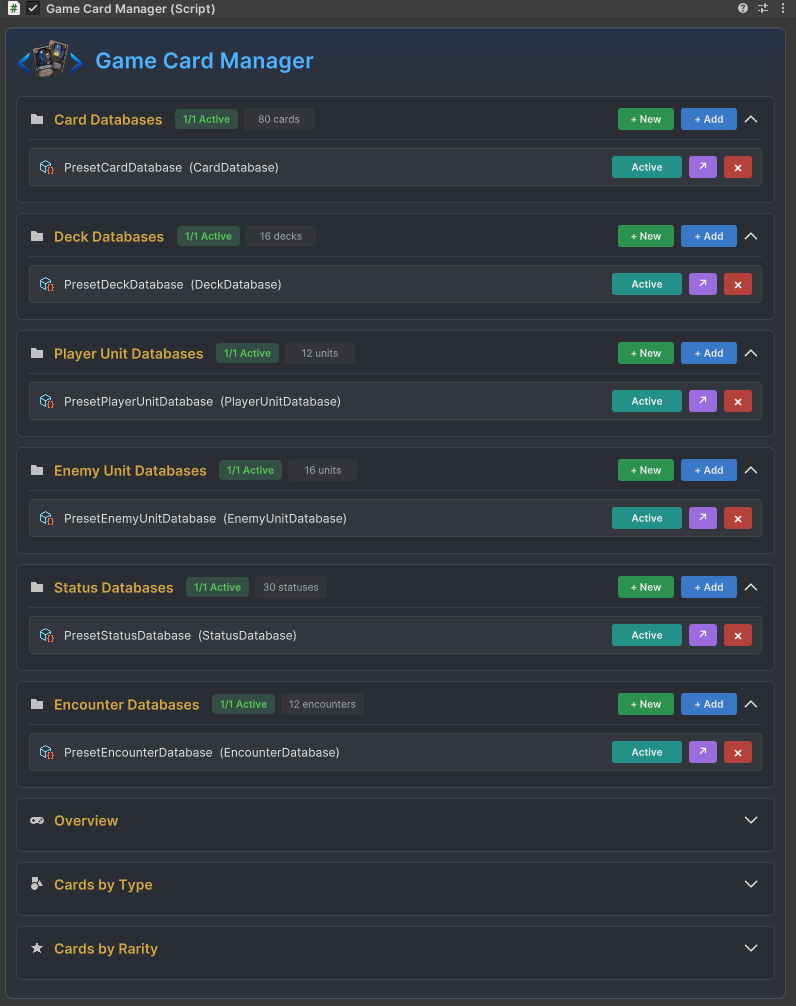
Select GameCardManager. Its Inspector should show six database groups in this order: cards, decks, player units, enemy units, statuses, and encounters. Each group should have one active preset database after initialization.
Assign a Default Encounter
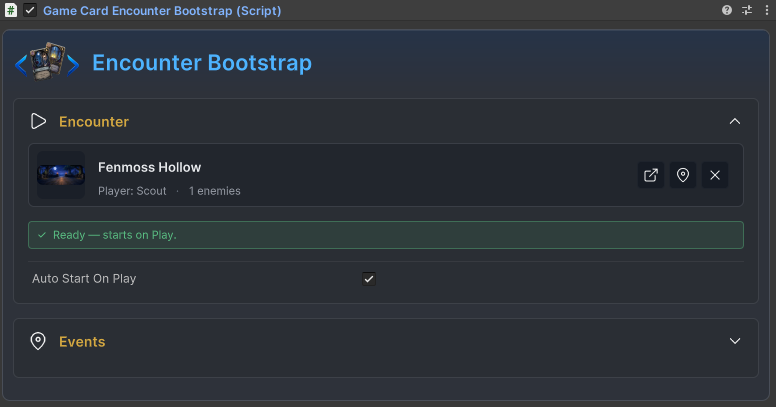
On the same GameObject, find GameCardEncounterBootstrap and set Default Encounter to a preset encounter. For a first test, use Fenmoss Hollow.
| Field | What to set |
|---|---|
| Default Encounter | The battle to start. Pick any preset encounter for the first run. |
| Auto Start On Play | Keep enabled if the scene should start the encounter as soon as Play Mode begins. |
| On Bootstrap | Optional UnityEvent fired after the encounter starts. Leave empty for first setup. |
Start a Battle
- Bootstrap (no code)
- C# API
With Default Encounter assigned and Auto Start On Play enabled, enter Play Mode. The initialized scene now has the manager, runtime presentation objects, EventSystem, background, and effects/audio roots needed for a playable battle.
When a menu, map, or save system chooses the encounter, disable Auto Start On Play and start the battle from code:
using TinyGiants.GCS.Runtime;
using UnityEngine;

public class BattleStarter : MonoBehaviour
{
    public GameEncounter Encounter;

    void Start()
    {
        GCSApi.StartBattle(Encounter);
    }
}
GCSApi.StartBattle needs a scene GameCardManager with active databases, which Initialize System has already created.
Setup Checklist
The scene is ready when:
- The project compiles with no GCS script errors.
- The scene contains
GameCardManager,EventSystem,Background,Battle Runtime, andBattle Fx Directors. - The manager has all six preset database groups filled and active.
GameCardEncounterBootstrap.Default Encounteris assigned, or your own code callsGCSApi.StartBattle.- Entering Play Mode deals a hand, shows energy, renders units, displays enemy intents, and allows cards to be played.
If the Workbench opens empty or Play Mode starts with no battle, check the manager databases and the bootstrap encounter before editing card data.