Demo Scenes
Twelve playable battle scenes: four classes, each with a Normal, an Elite, and a Boss encounter, all driven by the preset databases.
Use this page to pick a scene that shows the mechanic you want to study, and to know what enemy lineup to expect inside.Every demo scene is a self-contained battle: it loads a player unit, an encounter, enemies, battle rules, UI, and presentation objects, then runs a full fight in Play Mode. Scene files live under:
Assets/TinyGiants/GameCardSystem/Demo/Scenes/<Class>/<n>-<Name>.unity
The number prefix is the difficulty tier. Scene 1 is the class's Normal fight, scene 2 is the Elite fight, and scene 3 is the Boss fight. Each scene also fields the class's matching player-unit tier: the Normal scene plays the first-tier unit and the Boss scene the third, so the Warrior line climbs Squire, Knight, Warlord while the Hunter line climbs Scout, Ranger, Huntmaster. All 12 encounters share the same hand rules (a 5-card opening hand, 5 cards drawn per turn, a 10-card hand cap); what changes between scenes is the deck and the enemies, not the rules.
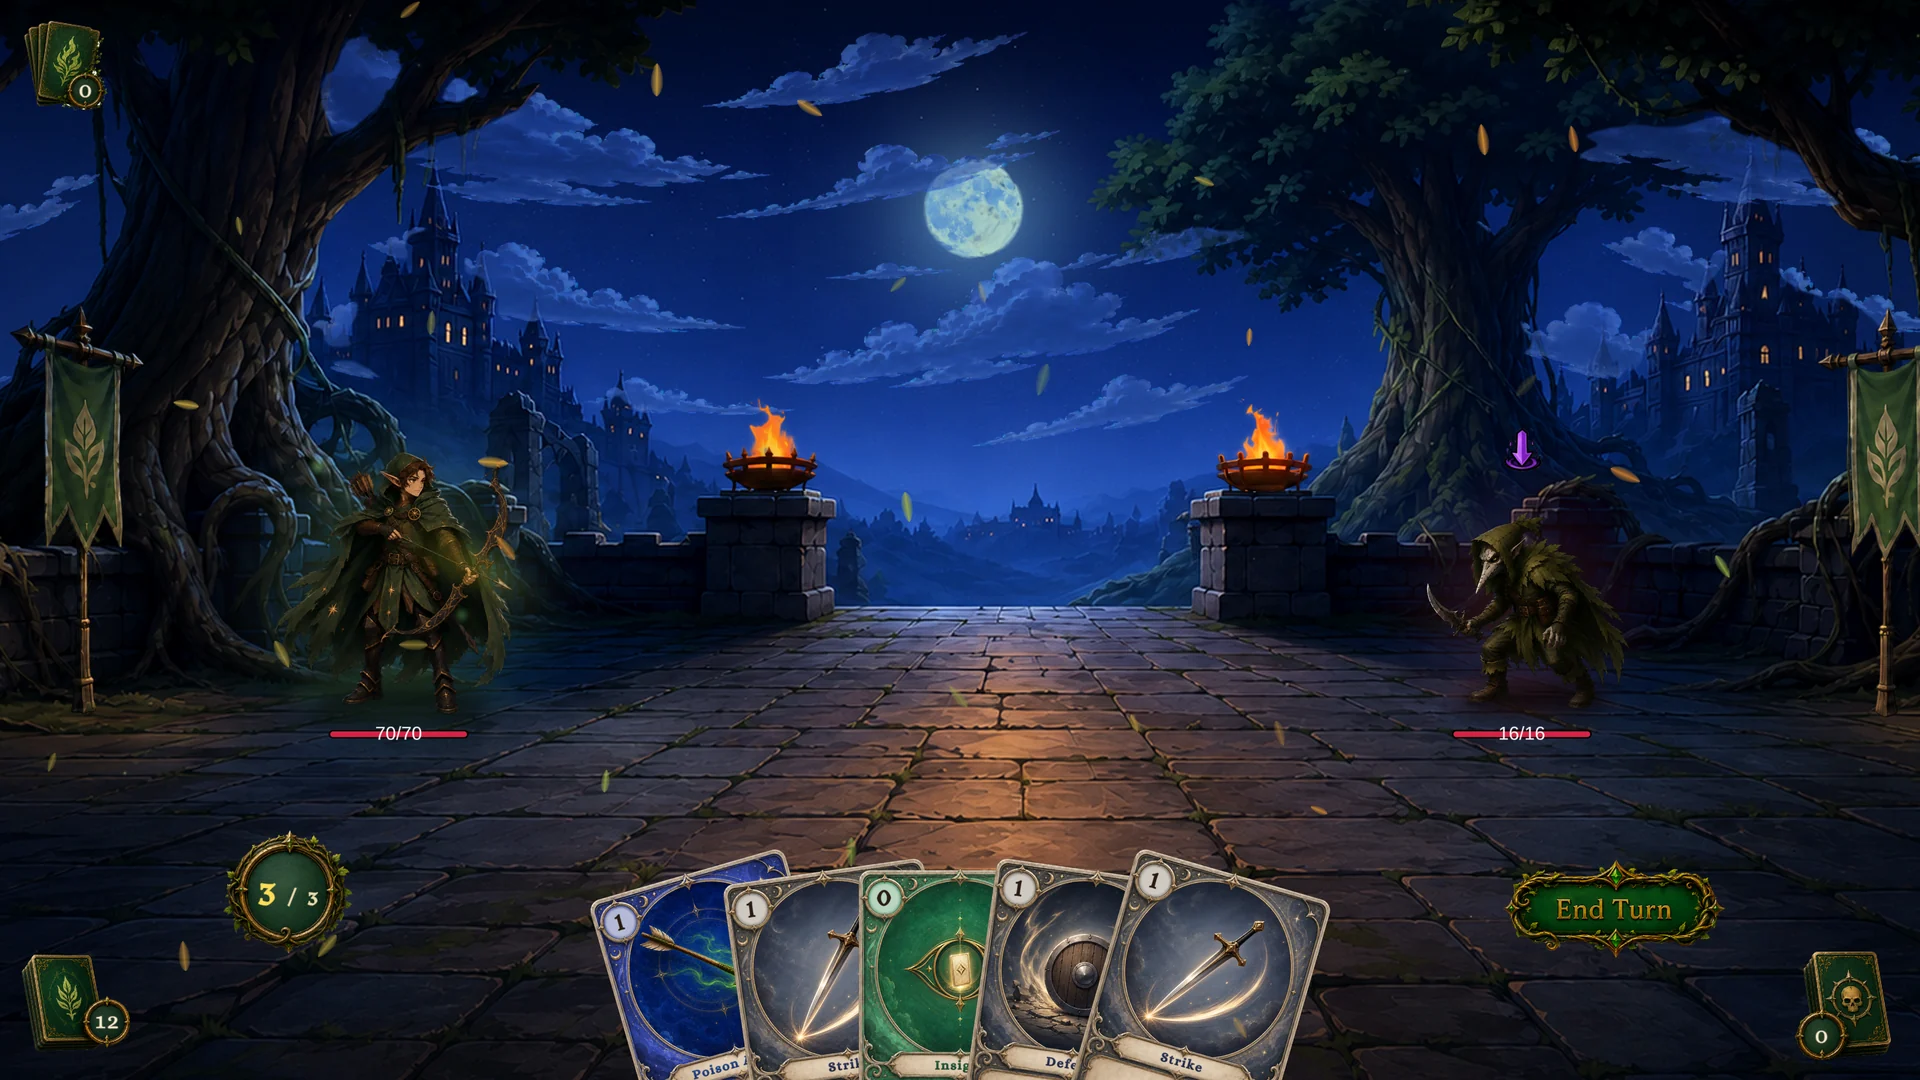
Fenmoss Hollow, the Hunter Normal scene and the demo's usual starting point.
Scene list
Each scene loads the encounter of the same name. The lineups below come straight from PresetEncounterDatabase:
| Class | Scene | Tier | Enemy lineup |
|---|---|---|---|
| Warrior | 1-The Threshing Field | Normal | Strawman |
| Warrior | 2-Field of Burning Effigies | Elite | Strawman ×2, Pyre Effigy |
| Warrior | 3-The Gibbet Altar | Boss | Gibbet Priest |
| Mage | 1-The Candlelit Cell | Normal | Hex Acolyte |
| Mage | 2-Coven of Wax | Elite | Hex Acolyte ×2, Candle Magus |
| Mage | 3-Pyre of the Ash-King | Boss | Ashen Hierarch |
| Hunter | 1-Fenmoss Hollow | Normal | Plague Stalker |
| Hunter | 2-The Spore Bog | Elite | Plague Stalker ×2, Spore Brute |
| Hunter | 3-Mire of the Reaper | Boss | Mire Reaper |
| Priest | 1-The Dimming Chapel | Normal | Lantern Sister |
| Priest | 2-The Barred Nave | Elite | Lantern Sister ×2, Order Knight |
| Priest | 3-Cathedral of Strings | Boss | Gilded Bishop |
Enemy HP tells you the tier at a glance: Normal enemies spawn with 14 to 18 HP, Elites with 50 to 70, Bosses with 180 to 240 (the Ashen Hierarch sits at the top with 200 to 240), and mid-battle summons with 8 to 12.
The lineup is not always the whole fight. Each class also has a fourth, Summon-tier enemy (Warrior: Stitched Hound, Mage: Hex Hound, Hunter: Bog Polyp, Priest: Stringed Squire) that enters mid-battle through Spawn Unit action nodes in enemy behavior graphs. A one-enemy boss lineup can grow while you fight it.
How to run a scene
- Open a scene from
Demo/Scenes/<Class>/. - Enter Play Mode.
- Confirm the battle starts: player unit, enemies with intent icons, a hand of cards, the energy display, and the End Turn button.
- Play cards, end the turn, and watch the enemy intents resolve.
- Open
Tools/TinyGiants/GCS/Game Card Monitorto watch piles, units, phases, and flow executions live while you play.
If the scene opens but no battle starts, check the scene bootstrap and manager references before you suspect the content definitions.
Which scene to open first
Normal scenes are one-on-one fights with small numbers, so they are the right place to learn the turn rhythm without distraction. The Dimming Chapel below is typical: one enemy, readable intents, room to experiment.
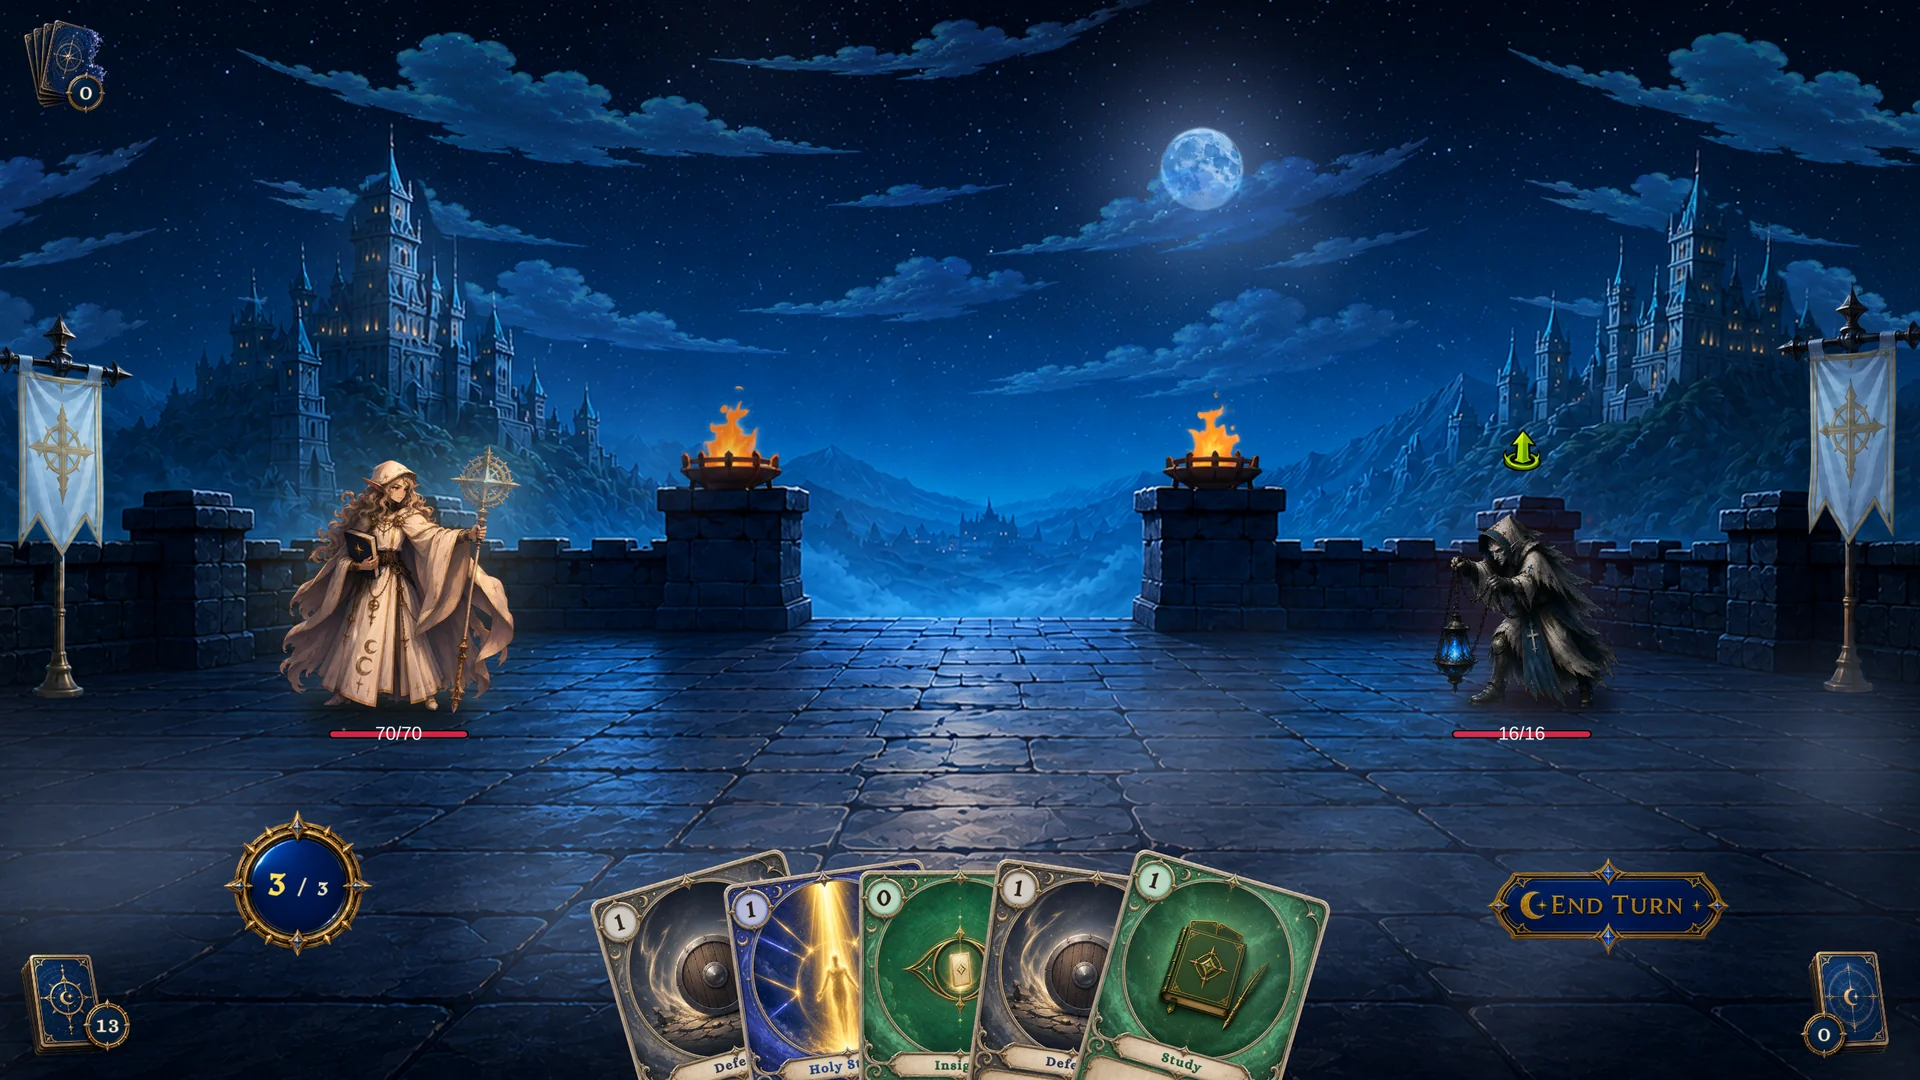
The Dimming Chapel, the Priest Normal scene.
Elite scenes put three enemies on the board. Open one when you want to study targeting, multi-enemy intents, or how area effects pick their units.
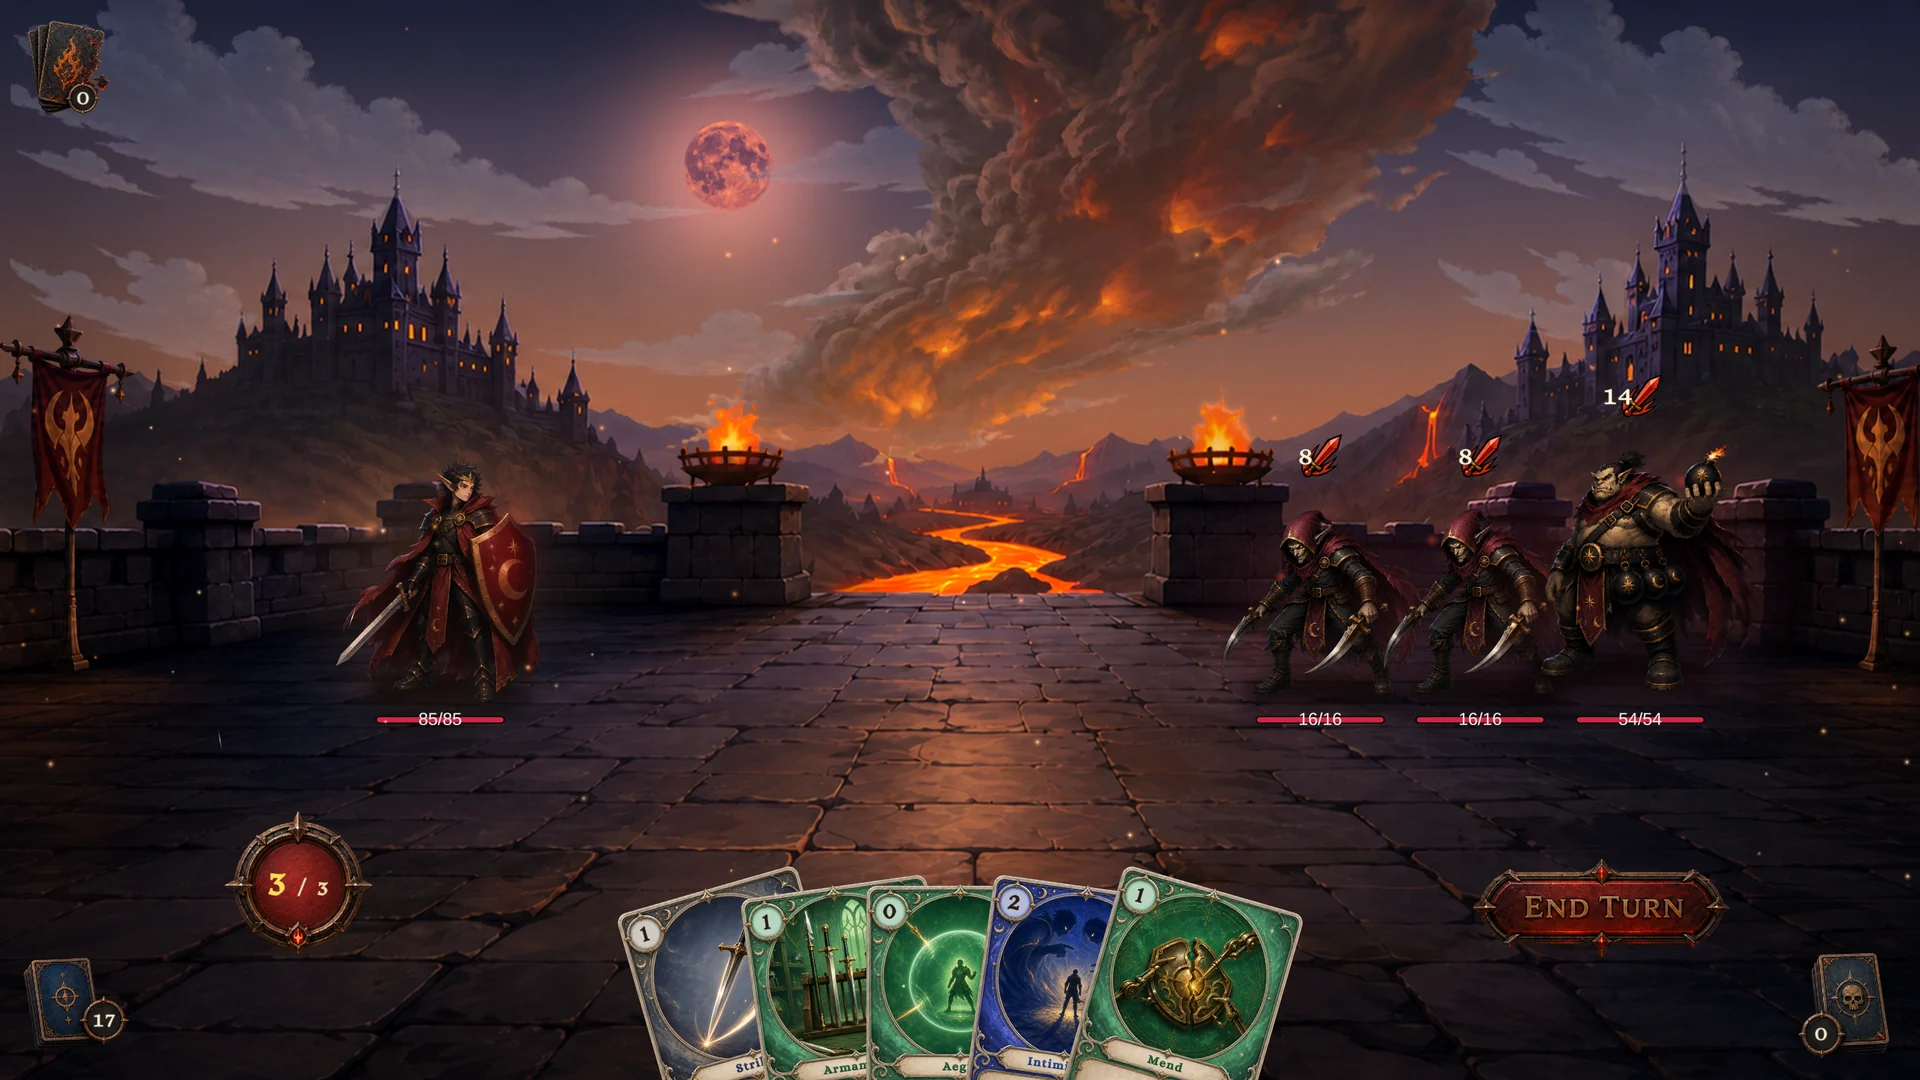
Field of Burning Effigies, the Warrior Elite scene: two Strawmen and a Pyre Effigy.
Boss scenes trade enemy count for one high-HP unit with a heavier behavior graph. The Gibbet Priest, for example, spawns with 180 to 210 HP. These are the scenes to open when you want to read a layered enemy pattern (weighted random intents, HP thresholds, summons) in the FlowGraph window.
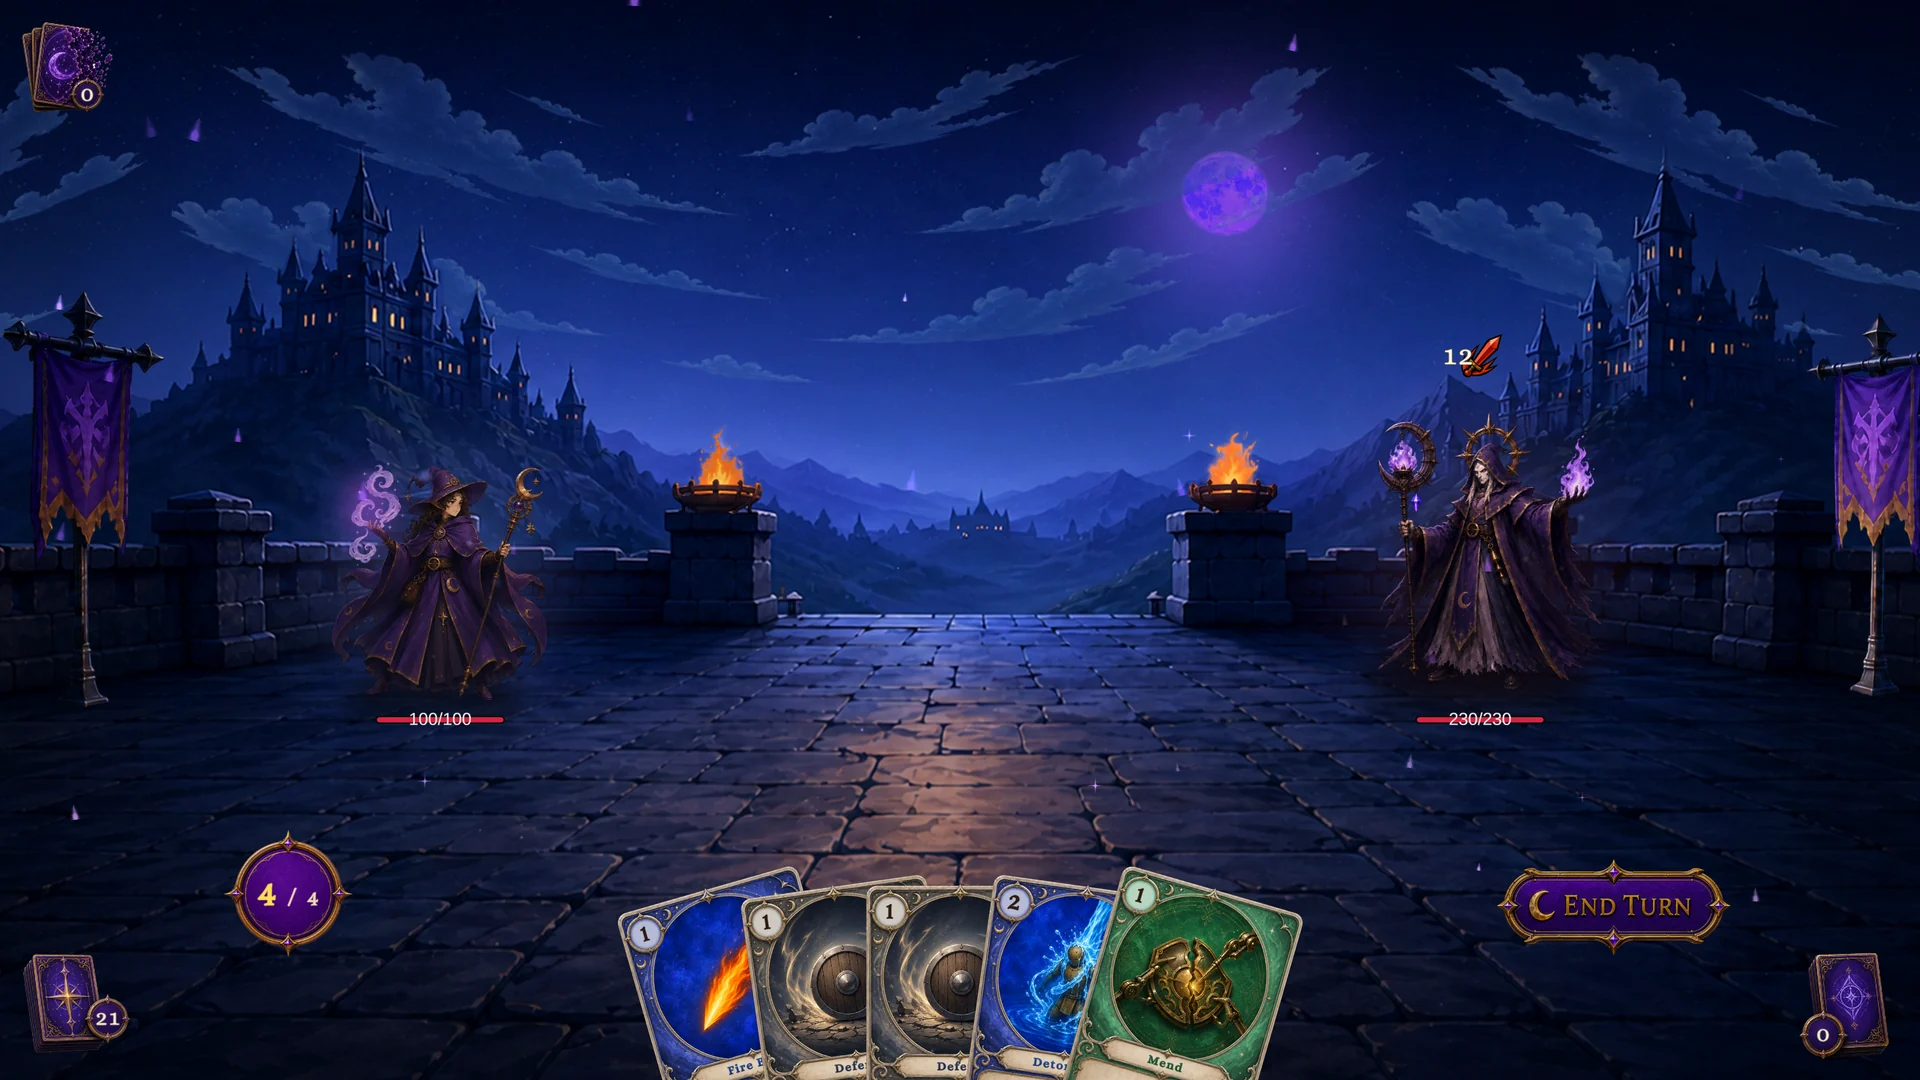
Pyre of the Ash-King, the Mage Boss scene against the Ashen Hierarch.
When something looks wrong
Separate mechanics from presentation before editing anything. If cards resolve, piles move, phases advance, and the battle can end, the scene's data and runtime setup are working; a rough effect or missing sound is an art-pass matter. Only when the mechanical loop itself stalls should you start checking the encounter definition and manager references.