GES in 5 Minutes: Build Your First Event-Driven System from Scratch
"I only have 5 minutes. Can you just show me how to make the event system work?"
Fair enough. No theory, no architecture deep-dives, no comparisons with other approaches. You want to go from zero to a working event-driven interaction in your Unity project, and you want to do it fast. Let's go.
This guide assumes you have a Unity project open (2021.3 LTS or newer) and about 5 minutes. By the end, you'll have an event that fires when something happens in your game and triggers a response on a completely separate GameObject — with zero direct references between them.
Step 1: Install GES from the Asset Store (60 seconds)
Open the Unity Asset Store page for Game Event System. Click "Add to My Assets," then open Package Manager in Unity (Window > Package Manager), find GES under "My Assets," and hit Import.
Once the import finishes, you should see a TinyGiants folder in your project. If you get any compiler errors, make sure you're on Unity 2021.3 or newer.

That's it for installation. No additional dependencies, no assembly definition conflicts to resolve, no setup wizards.
Step 2: Open the Dashboard and Initialize (30 seconds)
Go to the Unity menu bar: Tools > TinyGiants > Game Event System. This opens the GES Dashboard.
The first time you open it, you'll see an "Uninitialized" state. The system needs to create its core ScriptableObject assets — the event manager and the default event database.

Click the Initialize button. GES creates the necessary assets in your project and sets up the default configuration. You'll see the dashboard switch to the initialized state with the event manager ready to go.

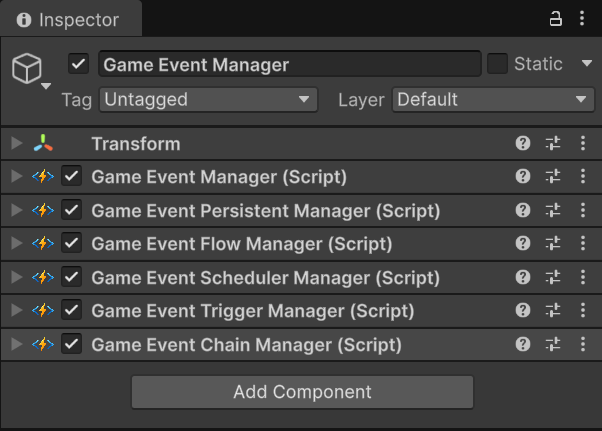
Now add the GameEventManager to your scene. You can do this by dragging the manager asset into your hierarchy, or by creating an empty GameObject and adding the GameEventManager component. The dashboard will guide you if you need it.
Step 3: Create Your First Event (45 seconds)
Let's create a simple void event — an event that says "something happened" without carrying any data. We'll call it "OnButtonPressed."
In the GES Event Editor (accessible from the dashboard or via Tools > TinyGiants > Event Editor), click the "+ New Event" button. This opens the Creator Window. Select Parameterless (Void) as the event type. Name it OnButtonPressed and click Create.
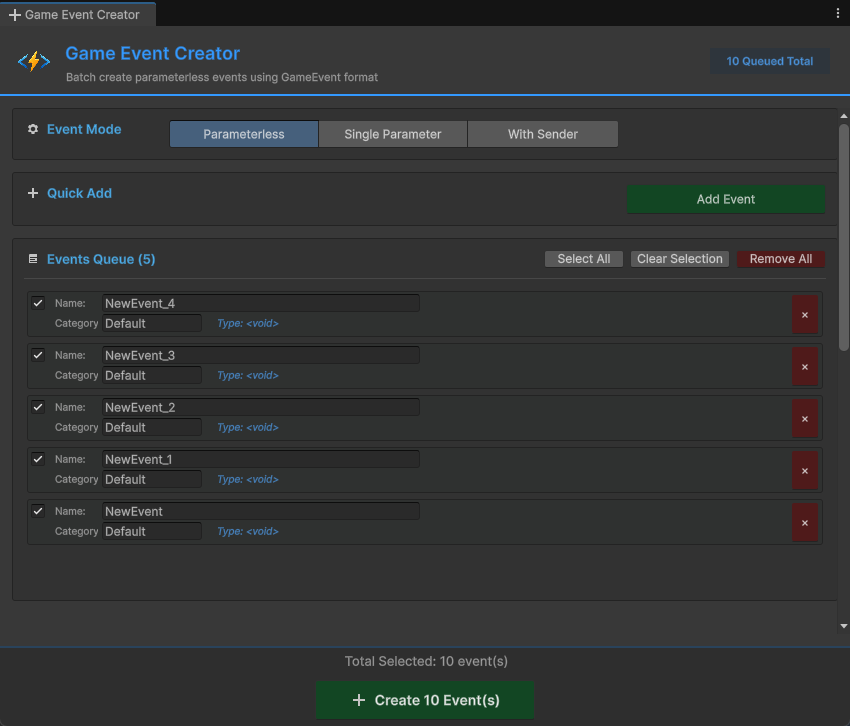
The system creates a new ScriptableObject asset — your event now exists as a draggable, referenceable asset in the project. You can see it in the Event Editor window with its GUID, current listener count, and configuration options.
Step 4: Raise the Event from Code (90 seconds)
Create a new C# script called ButtonPresser.cs. This script will raise our event when you call its method (or when you click a UI button, or on a trigger — whatever you want).
using UnityEngine;
using TinyGiants.GES;

public class ButtonPresser : MonoBehaviour
{
    [GameEventDropdown, SerializeField] private GameEvent onButtonPressed;

    // Call this from a UI Button's OnClick, or from Update, or from anywhere
    public void PressTheButton()
    {
        Debug.Log("Button pressed! Raising event...");
        onButtonPressed.Raise();
    }

    // For testing: press Space to trigger
    private void Update()
    {
        if (Input.GetKeyDown(KeyCode.Space))
        {
            PressTheButton();
        }
    }
}
Create a new empty GameObject in your scene. Call it "EventSender." Add the ButtonPresser component.
Now the important part: in the Inspector, the onButtonPressed field shows as a searchable dropdown (thanks to [GameEventDropdown]). Click it, and you'll see a list of all void events from your active databases. Find OnButtonPressed and select it — done. No digging through the Project window, no manual dragging.
That's it for the sender side. When PressTheButton() is called, it raises the event. The sender doesn't know or care who's listening.
Step 5: Bind a Response in the Inspector (90 seconds)
Now let's create something that responds to the event. Create another script called ButtonResponder.cs:
using UnityEngine;

public class ButtonResponder : MonoBehaviour
{
    public void RespondToButton()
    {
        Debug.Log("I heard the button press! Responding...");
        // Do anything here: play a sound, move an object, show UI, etc.
    }

    public void FlashColor()
    {
        var renderer = GetComponent<Renderer>();
        if (renderer != null)
        {
            renderer.material.color = Random.ColorHSV();
        }
    }
}
Now set up the receiver:
- Create a 3D Cube in your scene (GameObject > 3D Object > Cube). Name it "Responder."
- Add the
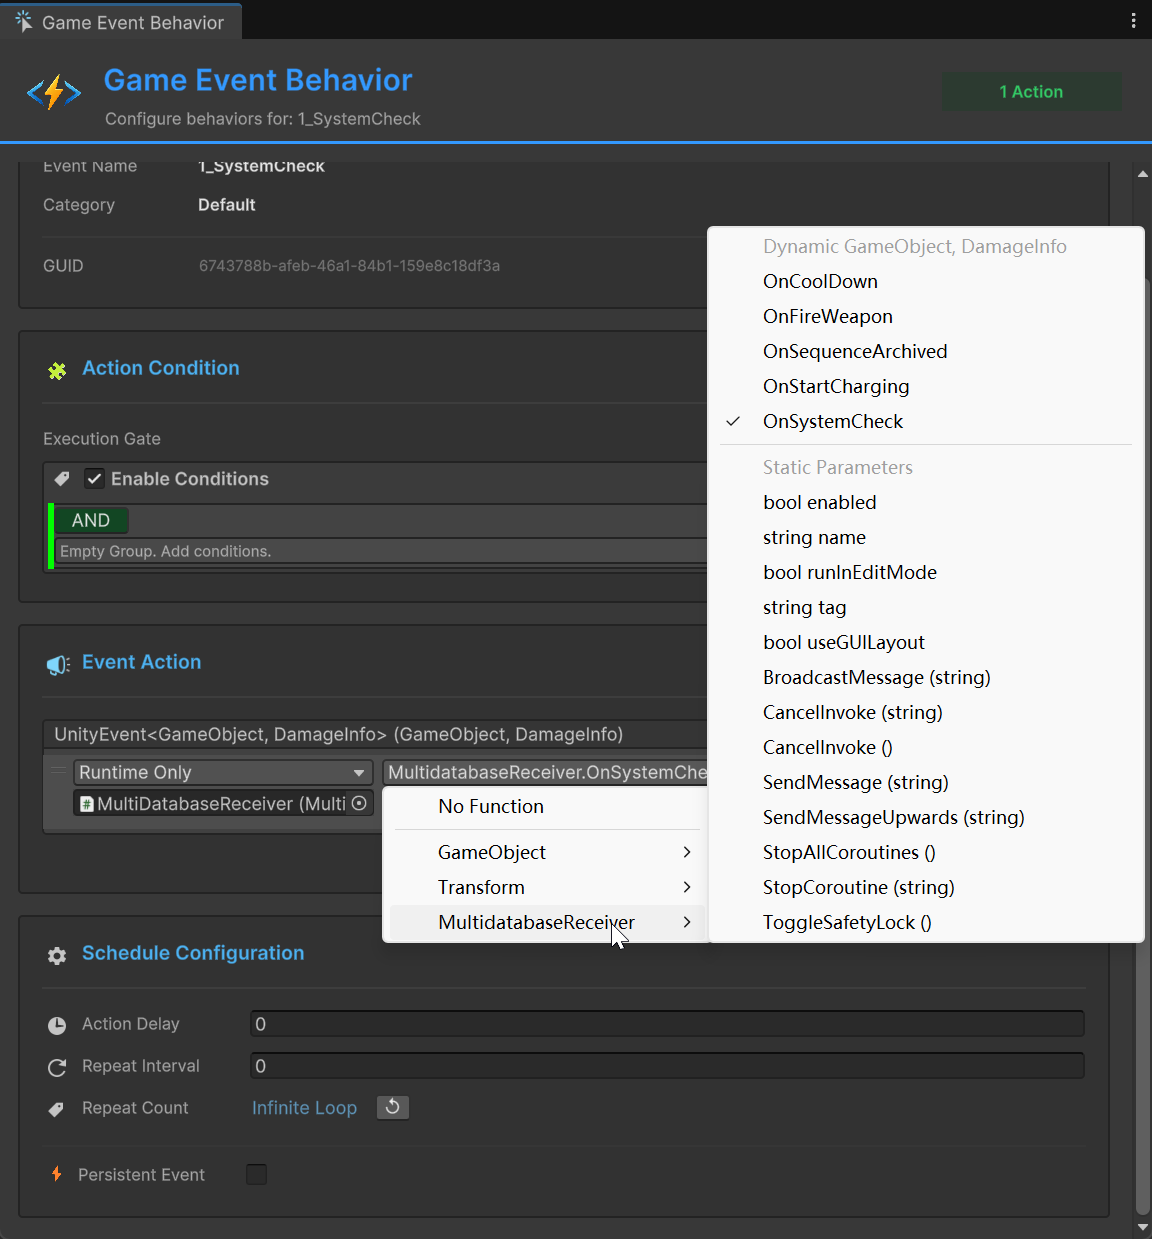
ButtonRespondercomponent to the Cube. - Open the Behavior Window for the
OnButtonPressedevent. You can do this from the Event Editor by clicking the Behavior button on the event.
In the Behavior Window, configure an Event Action:
- Drag the Cube into the target object slot, and select
ButtonResponder > RespondToButton(orButtonResponder > FlashColorif you want a visual response)
Your hierarchy should now have:
- EventSender (with
ButtonPressercomponent, referencing the event asset) - Responder (with
ButtonRespondercomponent)
Neither object has a direct reference to the other. They communicate entirely through the shared event asset.
Step 6: Hit Play and Verify (15 seconds)
Press Play. Press Space (or whatever trigger you set up). You should see:
- The console prints "Button pressed! Raising event..."
- The console prints "I heard the button press! Responding..."
- If you used
FlashColor, the cube changes color
That's it. You have a working event-driven system. The sender raised an event. The receiver responded. Neither knows the other exists.
Quick Verification Checklist
- The event fires and the response triggers: working
- Delete the Responder object and press Space: the sender still works (no null reference errors, it just fires into the void)
- Duplicate the Responder: both copies respond to the same event (automatic multi-listener support)
- Add the listener to an object in a different scene (if you have multi-scene setup): it still works (cross-scene communication for free)
Adding More Responses (No Code Changes)
Here's where the power of this pattern becomes obvious. Want to add a sound effect when the button is pressed?
- Create a new empty GameObject called "AudioResponder"
- Add an
AudioSourcecomponent - Open the Behavior Window for the
OnButtonPressedevent - Add a new Event Action: drag the AudioResponder GameObject in and select
AudioSource.Play()
Done. You didn't touch ButtonPresser.cs. You didn't modify the Responder cube. You just added a new action to the same event's behavior. The system is fully decoupled — adding new responses requires zero changes to existing code.
Want to add a particle effect? Same process. Camera shake? Same process. Analytics logging? Same process. Each new response is an independent Event Action configured through the same event's Behavior Window.
Passing Data with Events
The void event we just created is the simplest type. But most real events carry data — "the player took 25 damage" or "the score is now 1500."
Here's a quick preview of typed events. GES ships with pre-generated types for common data:
using UnityEngine;
using TinyGiants.GES;

public class ScoreManager : MonoBehaviour
{
    [GameEventDropdown, SerializeField] private Int32GameEvent onScoreChanged;  // Pre-generated type

    private int currentScore;

    public void AddScore(int points)
    {
        currentScore += points;
        onScoreChanged.Raise(currentScore);  // Passes the int value with the event
    }
}
On the listener side, the response method receives the data:
public class ScoreDisplay : MonoBehaviour
{
    [SerializeField] private TMP_Text scoreText;

    // This method is wired up via the Behavior Window's Event Action
    public void UpdateDisplay(int newScore)
    {
        scoreText.text = $"Score: {newScore}";
    }
}
For typed events, you configure responses the same way through the Behavior Window. The response method receives the typed parameter automatically.
Common First-Time Questions
Q: Do I need a GameEventManager in every scene? A: You need one in your first loaded scene. If you use a persistent "Bootstrap" scene or a DontDestroyOnLoad pattern, put it there. For single-scene games, just add it to that scene.
Q: What happens if I raise an event with no listeners? A: Nothing. No error, no warning, no performance cost. The event fires and nobody responds. This is by design — it means you can safely add events to systems before their listeners exist.
Q: Can I listen to events in code instead of the Behavior Window?
A: Absolutely. You can register listeners programmatically using AddListener/RemoveListener:
[GameEventDropdown, SerializeField] private GameEvent onButtonPressed;

private void OnEnable()
{
    onButtonPressed.AddListener(OnButtonPressed);
}

private void OnDisable()
{
    onButtonPressed.RemoveListener(OnButtonPressed);
}

private void OnButtonPressed()
{
    Debug.Log("Button pressed!");
}
The Behavior Window approach is recommended for most cases because it's more visible and easier to debug, but code-based listeners are fully supported for dynamic scenarios.
Q: Can I raise events from the Inspector without code? A: Yes. The event asset has a "Raise" button in its Inspector. This is great for testing — you can trigger any event manually while the game is running to see how listeners respond without needing to reproduce the actual game condition.
Q: How do I debug which events are firing? A: GES includes a Runtime Monitor tool that shows all active events, their listener counts, and a live log of raise/receive operations. Open it from the GES dashboard when the game is playing.
What's Next: Your Learning Path
Now that you have the basics working, here's the recommended order for diving deeper:
Week 1: Master the Basics
- Create 5-10 void events for your game's core interactions (game start, game over, pause, resume, level complete)
- Practice the pattern: event asset + sender + listener
- Get comfortable with the Inspector workflow
Week 2: Typed Events
- Use pre-generated types (int, float, string, Vector3) for events that carry data
- Build a health system:
FloatGameEventfor health changes,GameEventfor death - Build a score system:
IntGameEventfor score updates
Week 3: Custom Types
- Define a custom data struct for a game-specific event
- Open the Event Editor, click "+ New Event", and select your custom type in the Creator — it auto-generates the necessary code
- Implement a complete feature using custom typed events
Week 4: Condition Trees and Visual Flow
- Add conditions to listeners: "only respond if the player is alive"
- Build a visual condition tree with AND/OR logic
- Use the flow system for multi-step event responses
Week 5: Organization at Scale
- Set up multi-database architecture for your project modules
- Implement category-based organization
- Configure dynamic database loading for scene-specific events
Ongoing: Production Patterns
- Use the Runtime Monitor for debugging event flow in play mode
- Implement sender events for per-instance tracking
- Build cross-scene communication patterns
- Profile and optimize with the GES performance tools
The 5-Minute Recap
Here's everything we did, in order:
- Installed GES from the Asset Store
- Initialized the system via the Dashboard
- Created a void event asset (
OnButtonPressed) - Built a sender script that raises the event
- Built a receiver using the Behavior Window to configure Event Actions for the same event
- Hit Play and verified it works
Total time: about 5 minutes. Total lines of code: about 15 (in the sender script). Total direct references between sender and receiver: zero.
That's the core of event-driven architecture with GES. Everything else — typed events, conditions, visual flow, multi-database organization — builds on this same fundamental pattern: an event asset sits between sender and receiver, and neither side knows the other exists.
🚀 Global Developer Service Matrix
🇨🇳 China Developer Community
- 🛒 Unity China Asset Store
- 🎥 Bilibili Video Tutorials
- 📘 Technical Documentation
- 💬 QQ Group (1071507578)
🌐 Global Developer Community
📧 Support & Collaboration